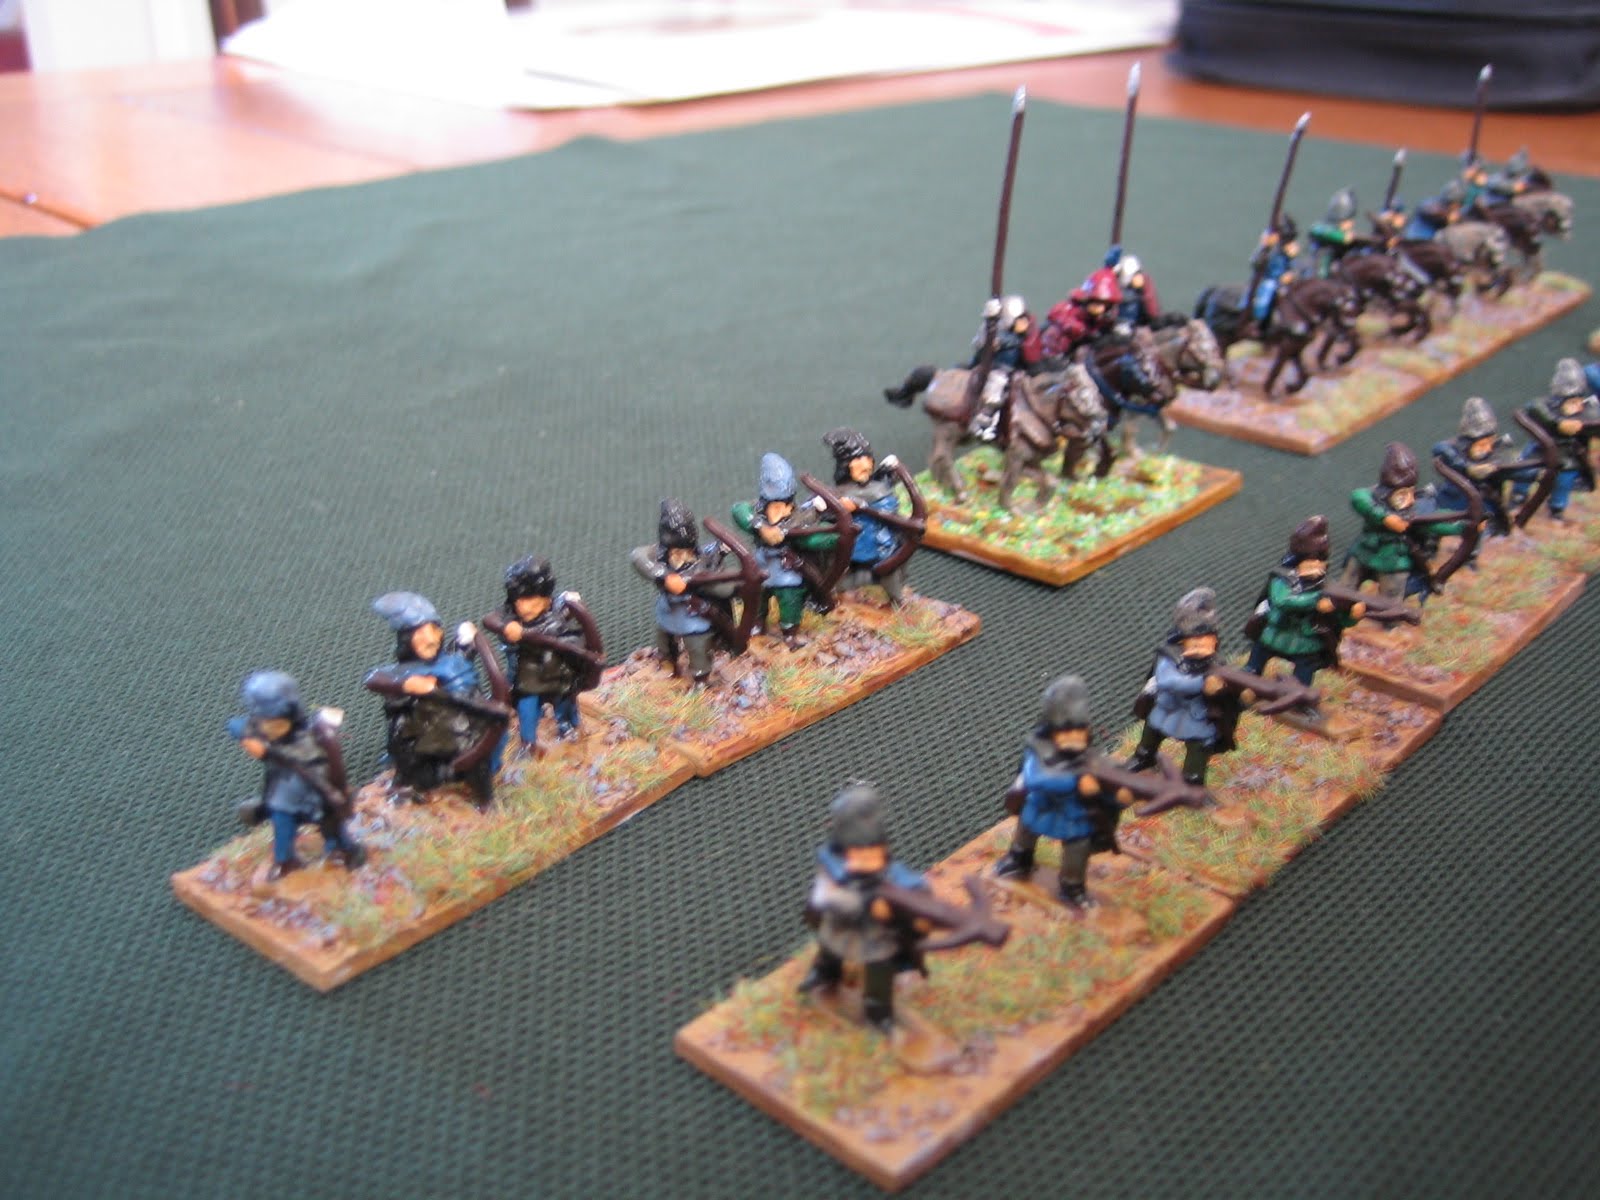
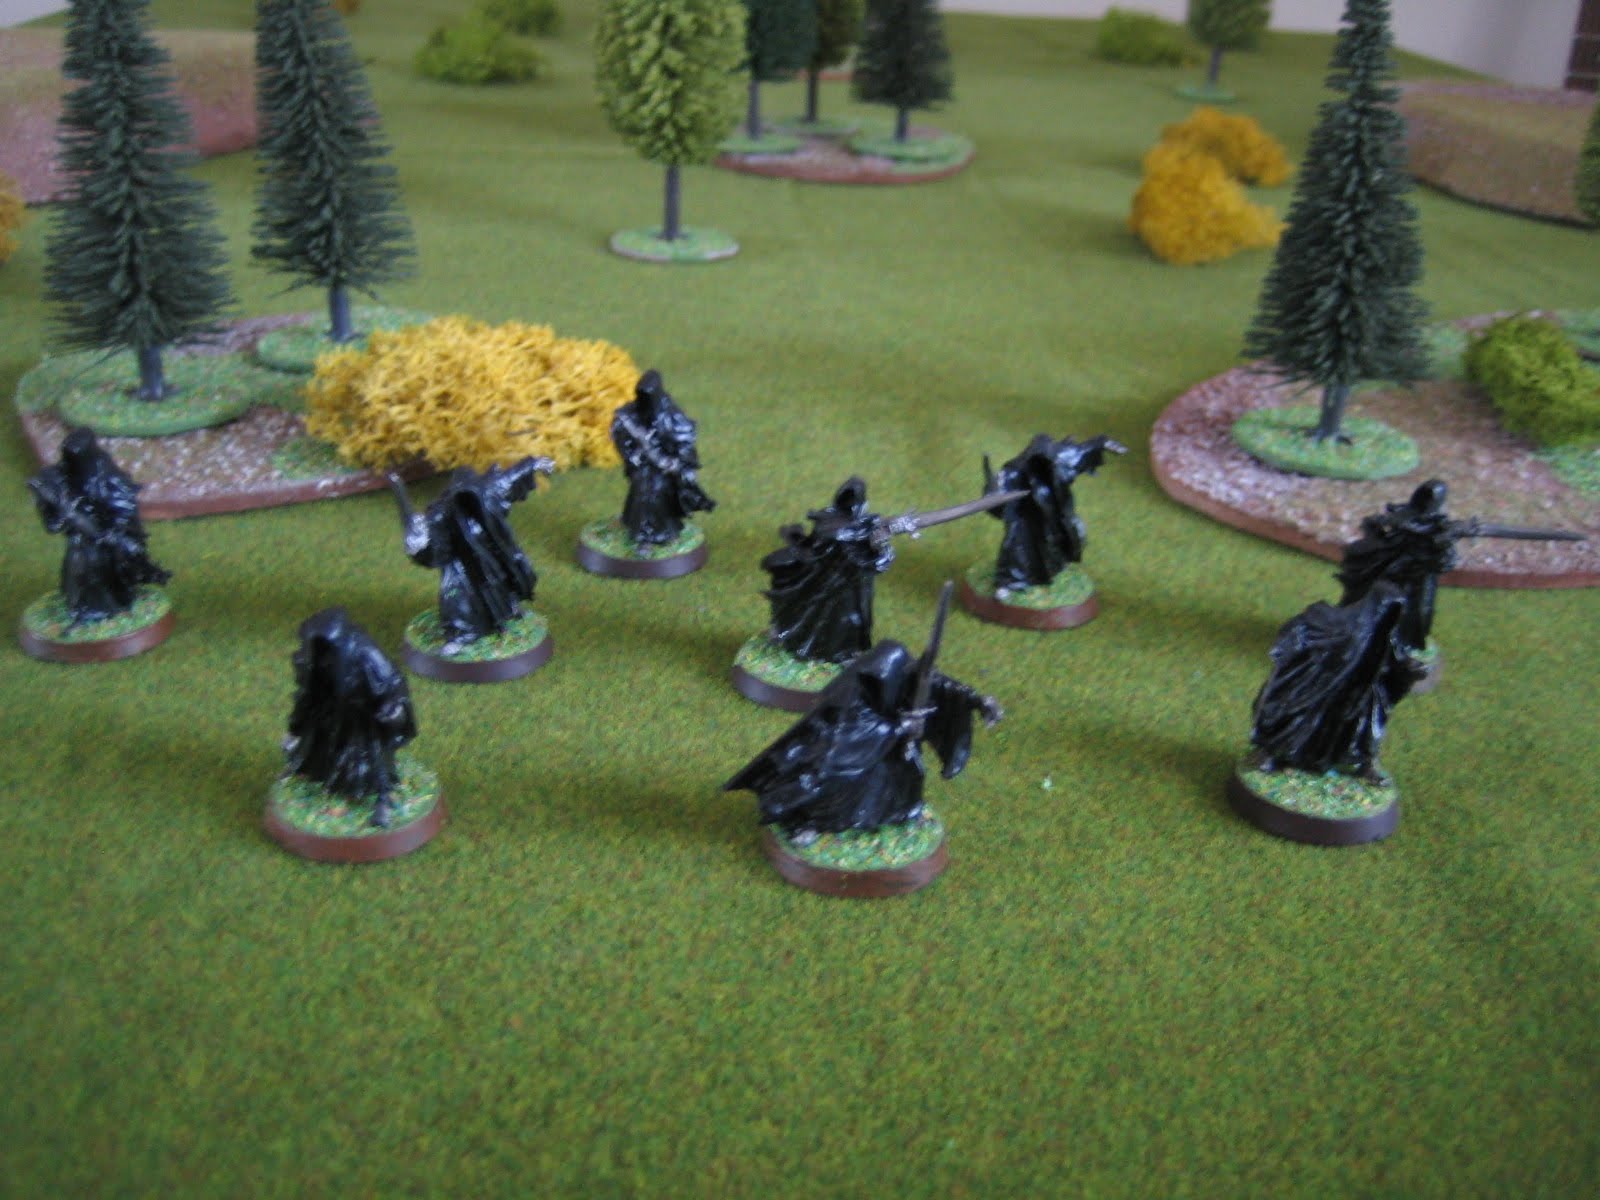
Participants: 9 Dunedain and 8 Ringwraiths plus the Witch-king.

Turn 1
6 Dunedain start the game on the board, although they will receive reinforcements during the game. All the Nazgul start off the board, with 1D3 arriving each turn. On the first turn the Dunedain advance towards the centre of the board. 2 Nazgul arrive.

Turns 2 - 3
More Nazgul enter the board and make their way forward, keeping the forest between themselves and the arriving Dunedain. A lucky shot banishes one of the Nazgul, but the other continues unharmed. Meanwhile the two groups of Dunedain that started the game on the board continue to move to intercept their foes.

Turns 4-5
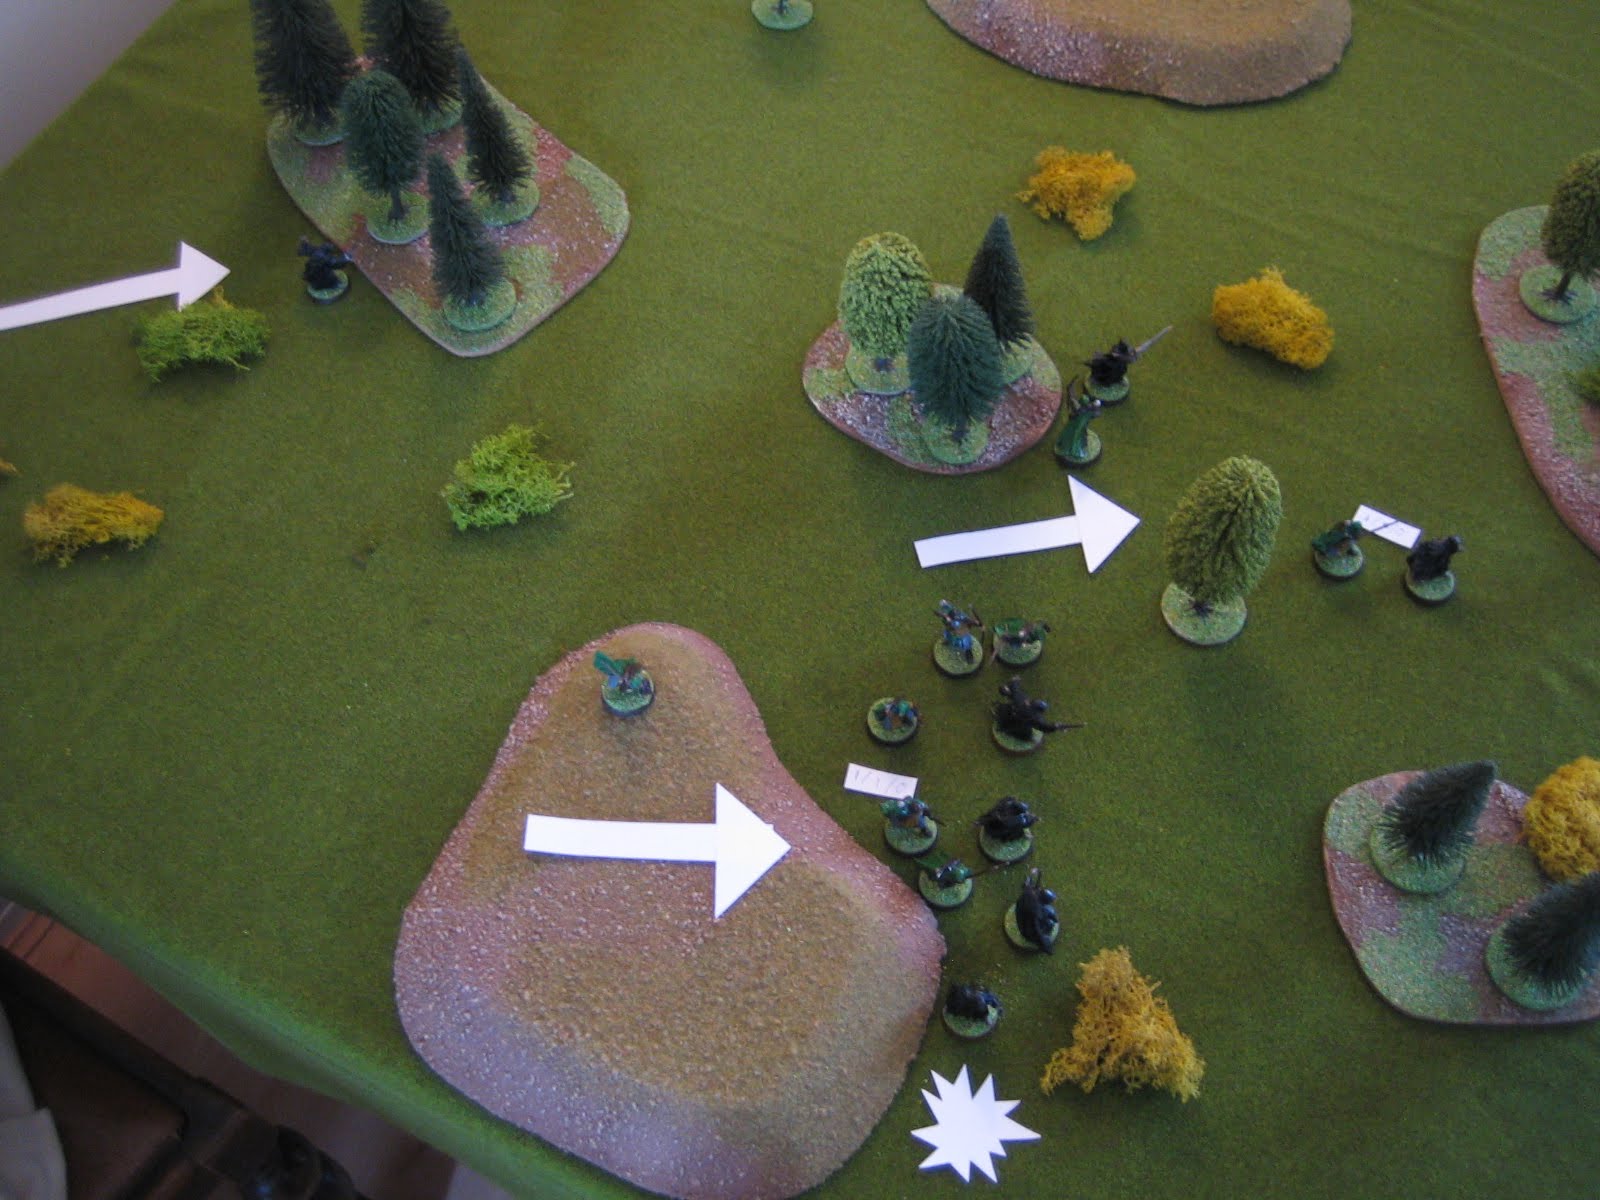
The Nazgul focus their efforts in an attempt to break through the Dunedain defence. In the centre of the board fighting breaks out in earnest, but the Dunedain hold. The new arrivals pursue the Nazgul round the forest, while the second group of three move across to form a second line of defence, should their brethren fall. (The little white rectangle is to remind me that that particular Dunedain has expended a point of might, avoiding a wound.)

Turns 6-7
It was at this point that I counted the Nazgul on the board and noticed I had forgotten to bring one on, clearly it had got lost... You can see it at the top left of the board. Meanwhile, two Nazgul by the smaller forest are making progress in their goal. The battle on the hill rages, with another Ringwraith falling.

Turns 8-9
The battle takes a turn in the Witch-king's favour during turn 8, as he and some Nazgul fight their way off the hill. In part this is due to Dunedain failing their courage checks to charge their fearsome foes. This leaves our heroes in a precarious position, but luck is with them and they move first in Turn 9, charging into combat and preventing the Wraiths from moving away that turn. However, this is not without cost and one Dunedain gives his life for the Shire.
Turns 10-11
Turn 10 sees one Nazgul and one Dunedain fall and the Wraiths have truly breached the Dunedain defence. Seeing that pursuit is likely to be futile, the Dunedain (bottom of pic) opt to shoot at their foes from a distance. Their shots hit, but fail to wound the foul creatures of Sauron. In the middle of the table hand to hand combat continues with more success as another Nazgul is banished.

Turns 12-13
In these turns, 4 Nazgul manage to escape off the board despite brave attempt to bring them down with archery. The remaining one moves around the small forest in the middle of the table and the Dunedain turn their attention to it.

Turns 14-15
The lone Nazgul falls to the combined efforts of the Dunedain. This gives the Good side a victory, but will it be enough to prevent the capture of the ring and the Hobbit who bears it?

Thoughts on the Scenario
This second scenario was more fun to play than the first, but I am still looking forward to getting stuck in to the 'proper' story, which starts from the next scenario. I know the Nazgul are at their weakest at this point, but they do seem to fall in combat a lot more easilly than you would expect, and they don't seem quite as terrifying as they should be. Still, the Dunedain in this scenario are all heroes in their own right, which helps. I hope the Hobbits are going to be okay!
After recovery rolls, the Ringwraiths were on the following levels of Will (out of 7, or 10 for the Witch-king): 10 (WK), 6, 6, 6, 5, 5, 5, 5, 4. The rather brief rules for linking scenarios do not give guidance for which three to select for the next scenario. I'm tempted to take one of each (i.e. 4, 5, 6), but might take the 3 with 6 Will depending on how I am feeling. It might make for a more interesting game overall.
Next project: Put some final touches to hedges for the next scenario; finish painting Frodo, Sam and Peregrin; paint Gildor.